Dejapong
Bio
Blog
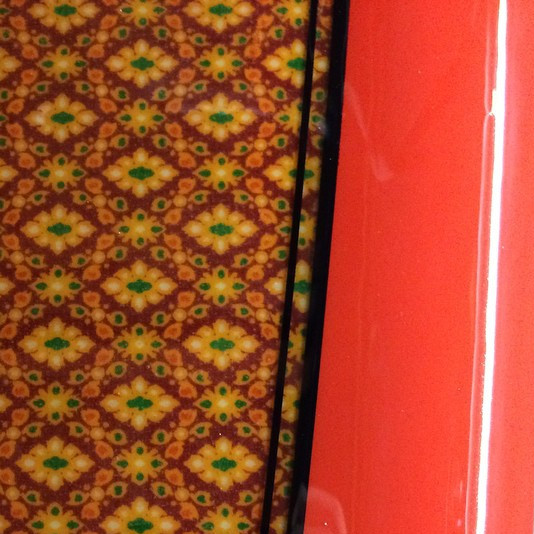
Sarongapong
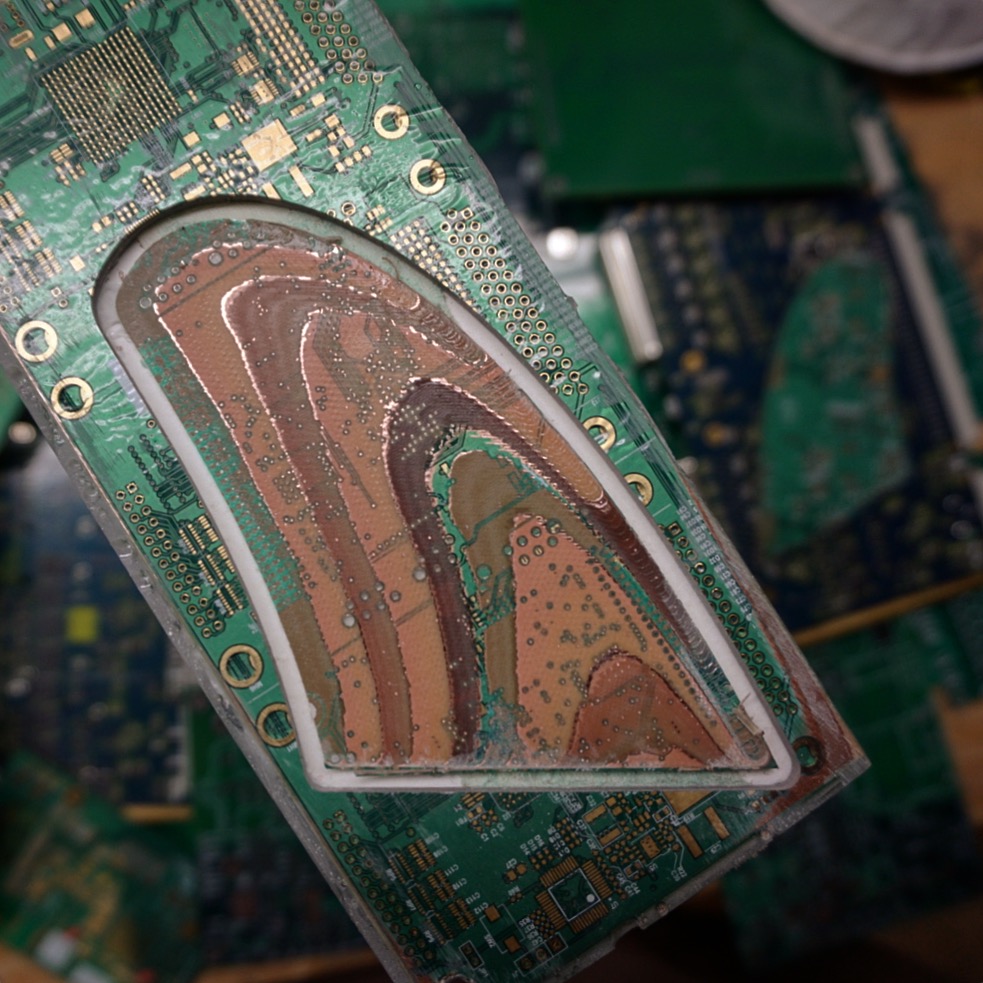
PCB Fins
Making Cover Art for Nature
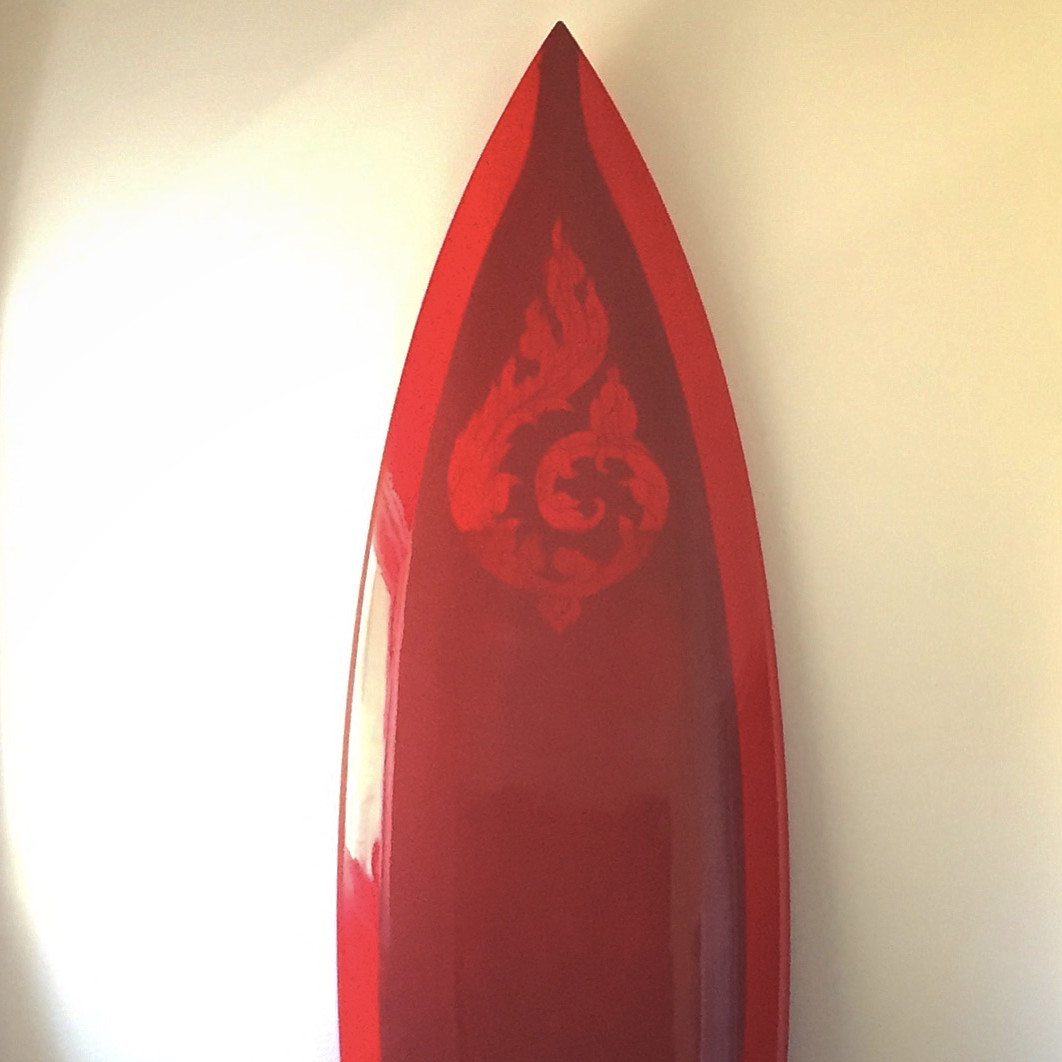
Kranok Surfboard
Glidewell Moth Handplane
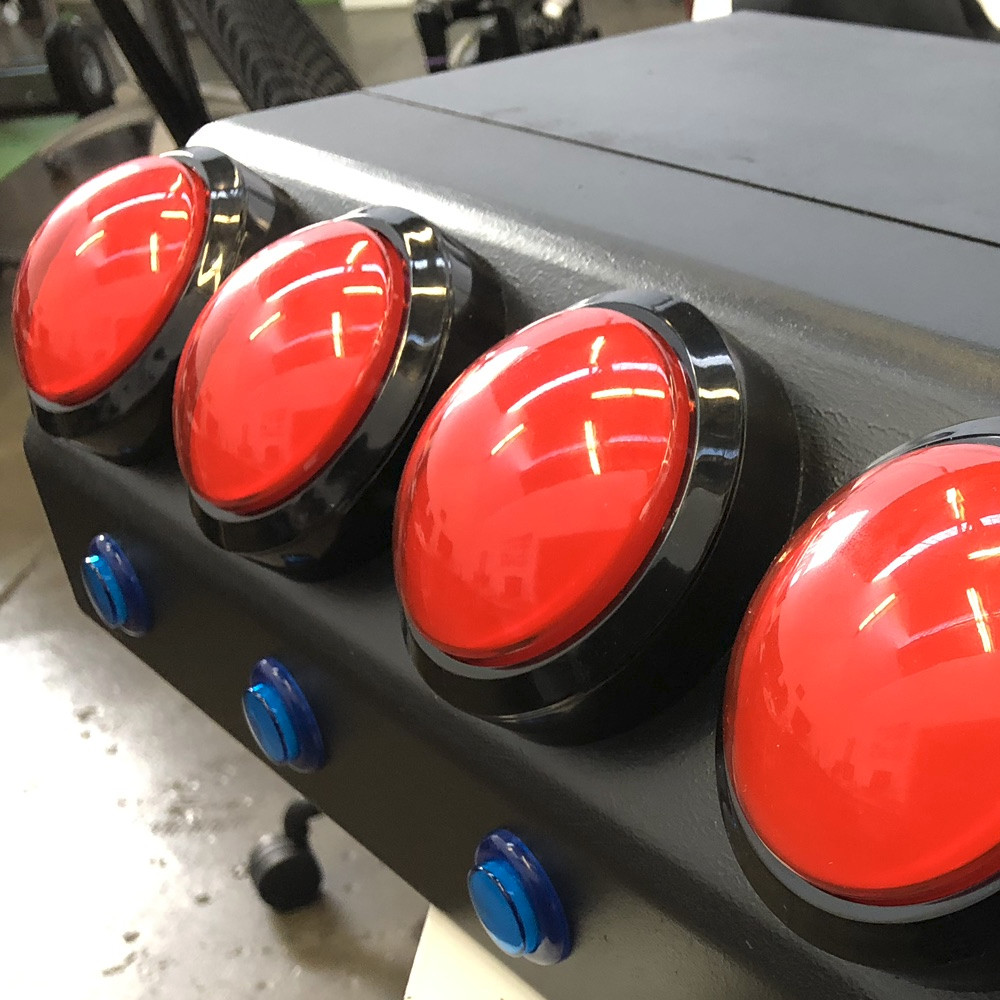
Multiplexing Controllers
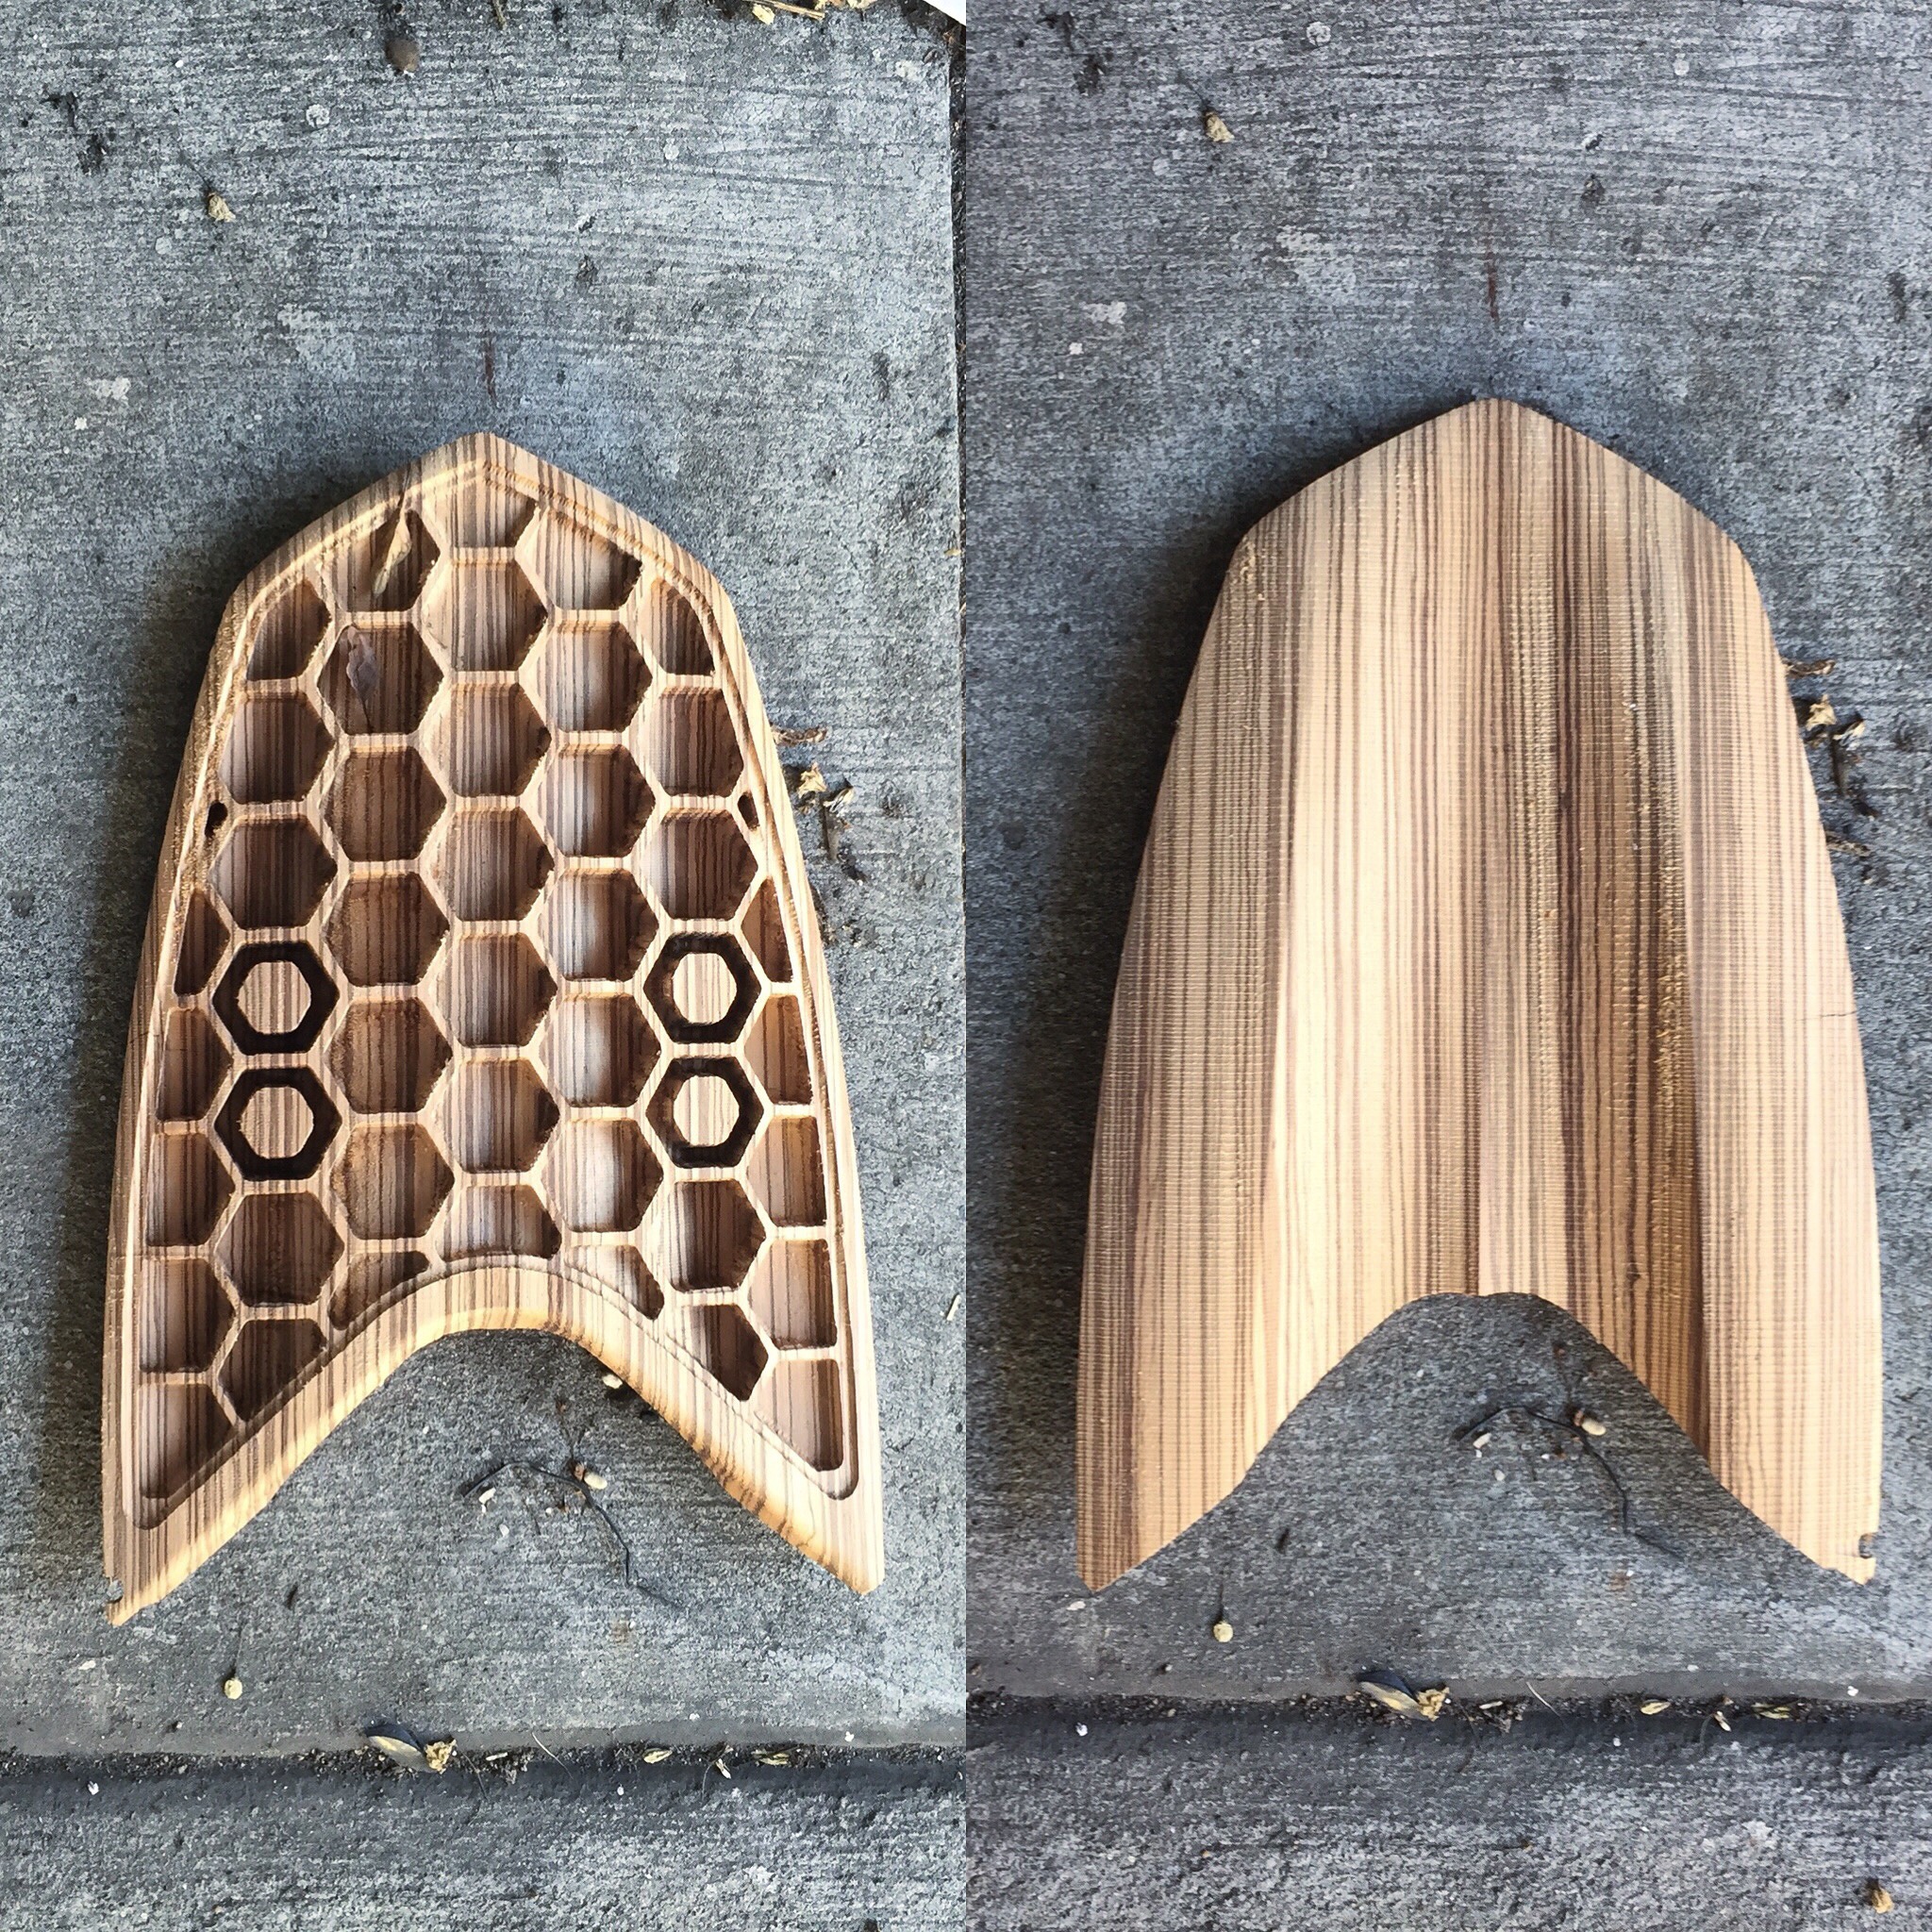
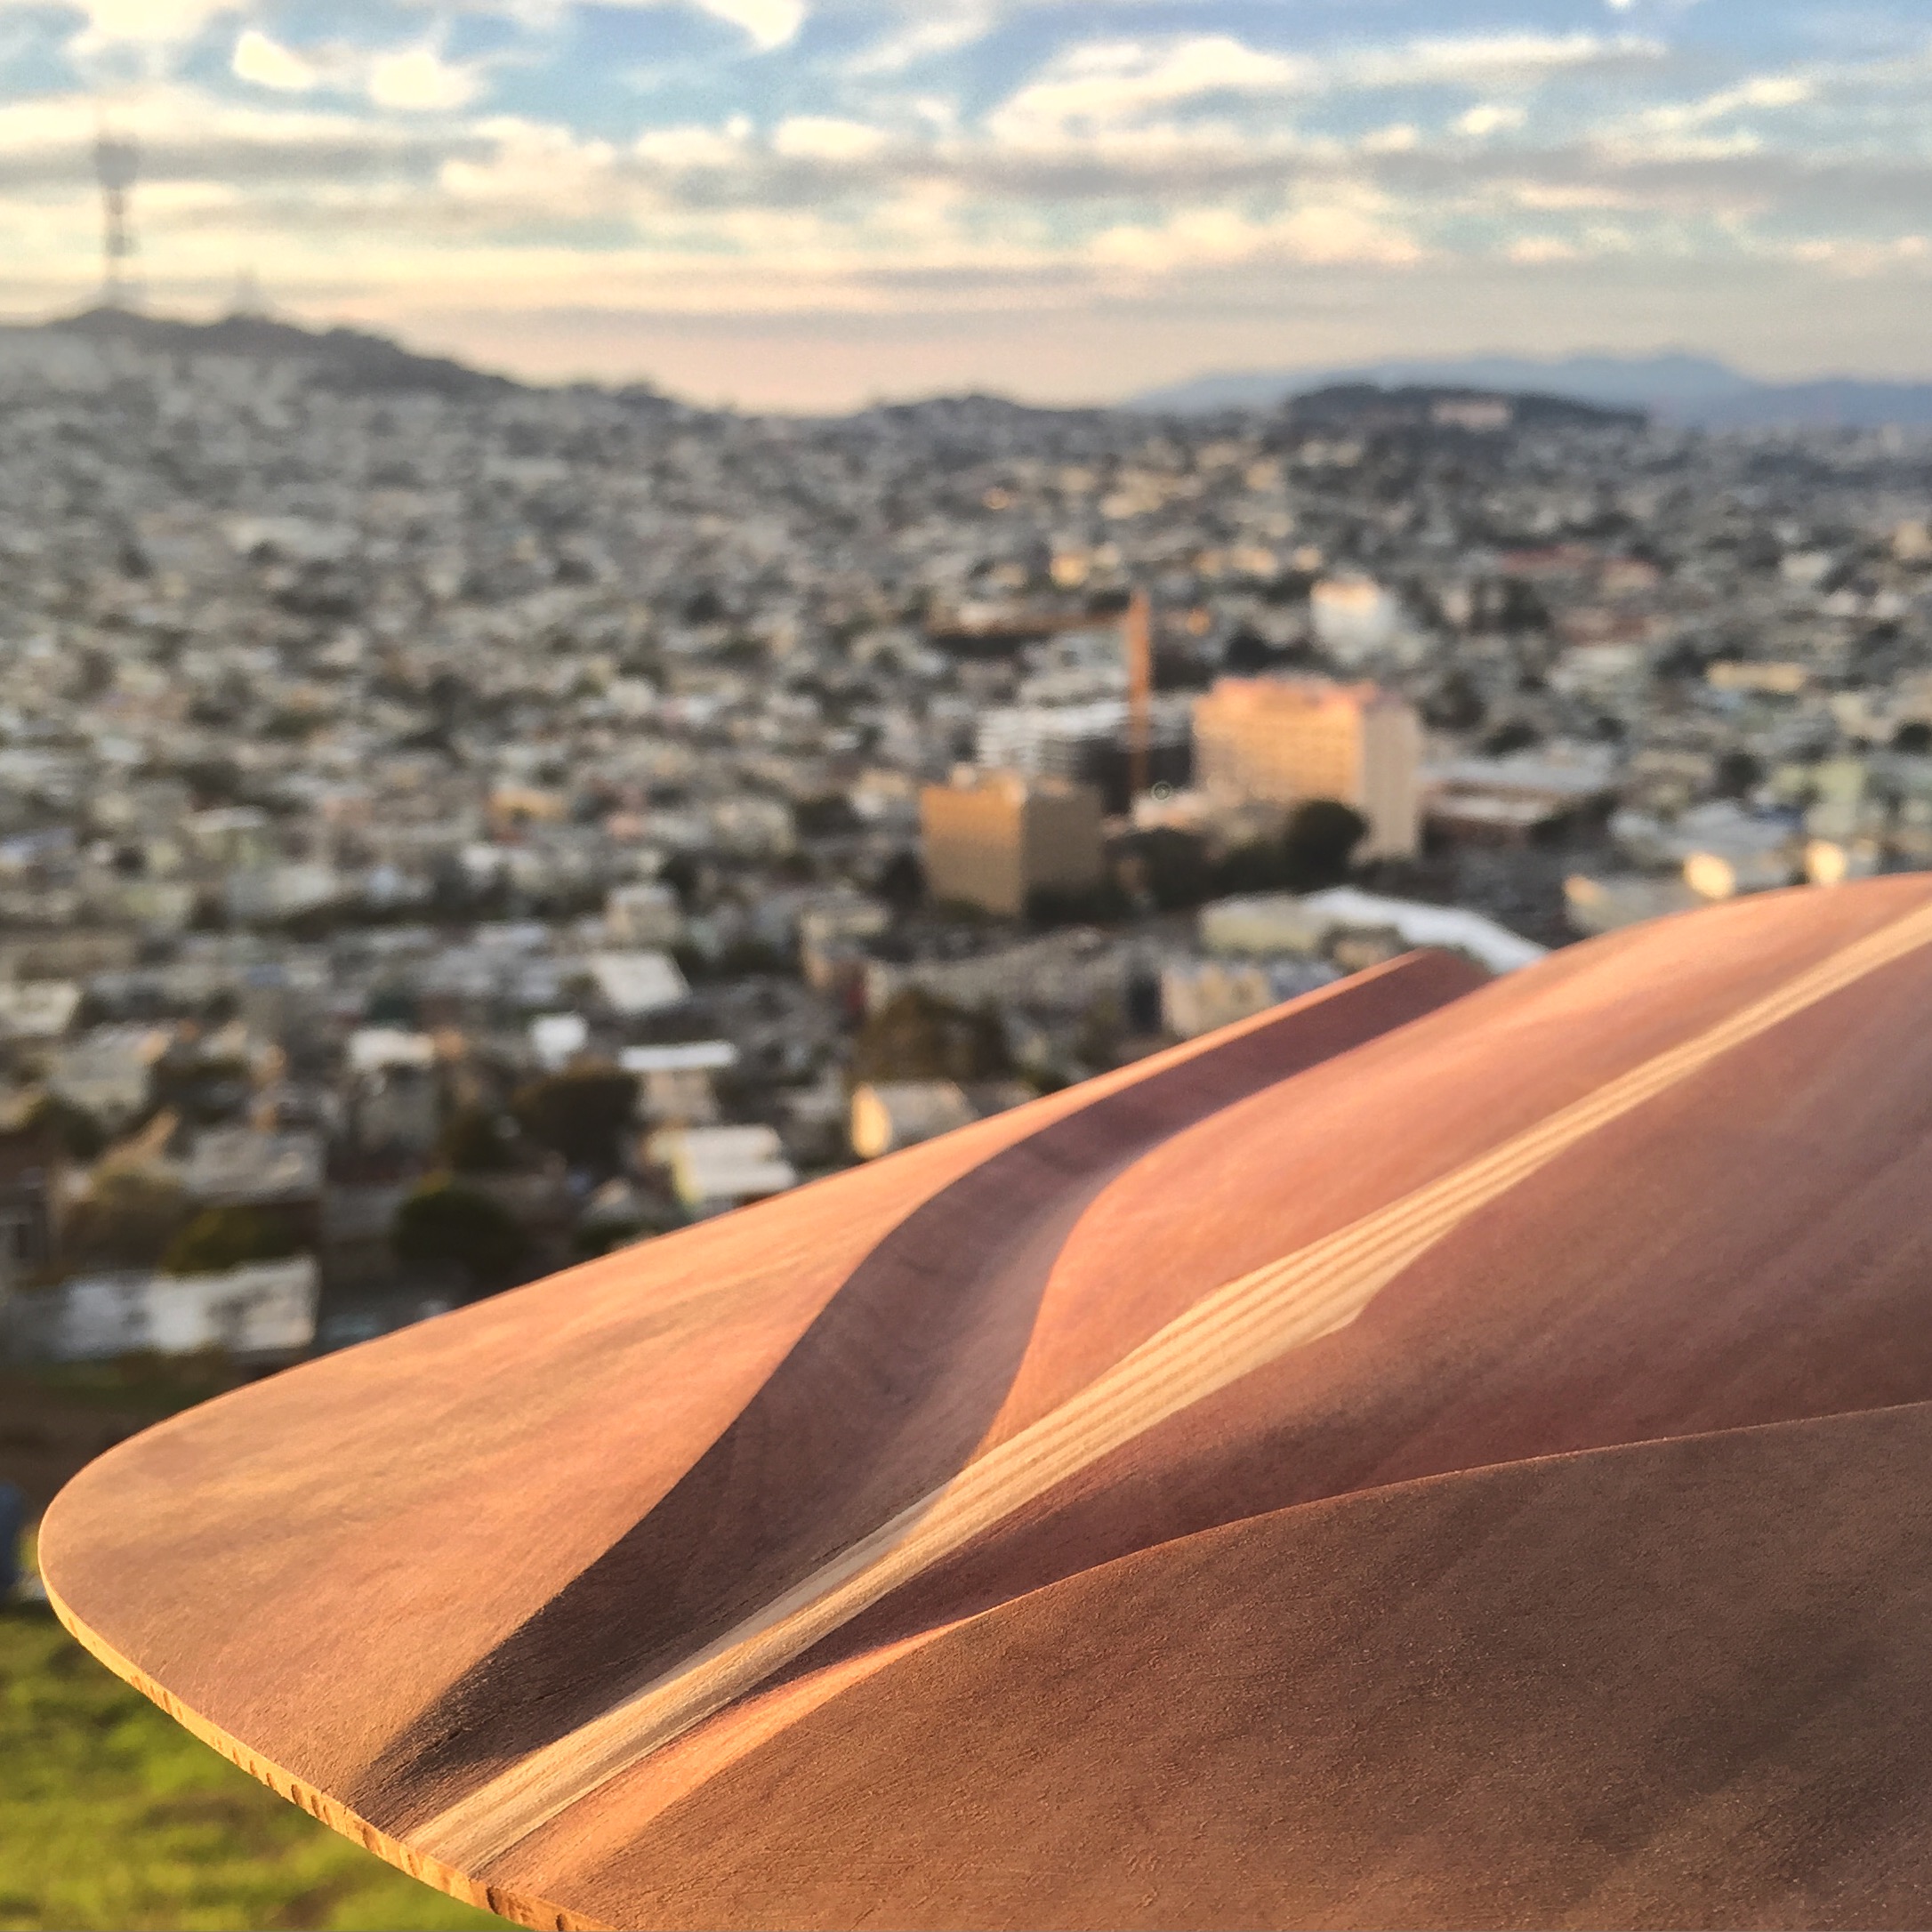
Channel Handplane
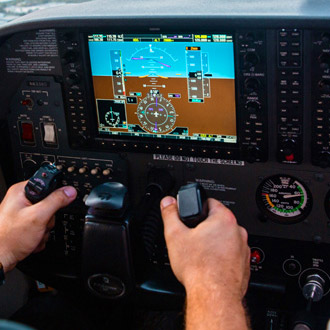
Interfaces for Action
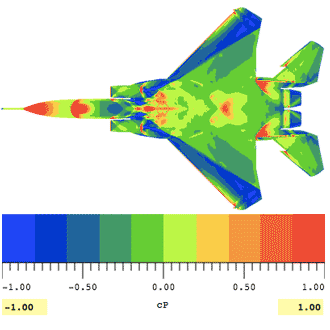
Color Range Explorer
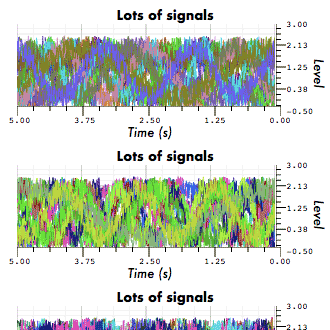
Using WebGl for Many Plots
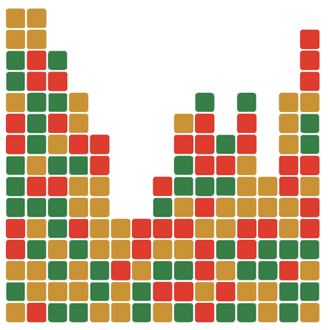
Exploding Boxes of Color
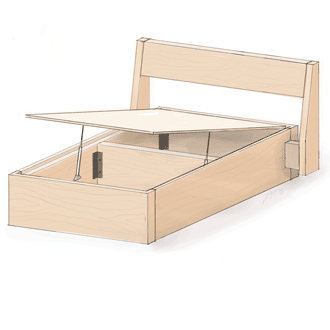
Building My Dream Bed
Brotherships
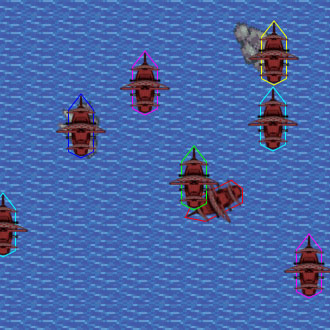
Steamboat Starships
Operation Clean Marine